As time goes by and we use Windows 11, the apps and libraries save up information in the cache memory section. This is done to fasten the opening of software and apps we regularly use. However, if we save too much cache the system may incur in errors because of data interference. Here you will find different ways to free cache memory on your computer.
The best option is to clean cache memory in Windows 11 regularly, in order to optimize your computer. Here you will learn different alternatives to free cache memory in your computer. You can perform this action anytime you see fit.
Clean cache memory in Windows 11 from the File Explorer
The File Explorer saves cache memory each time we open a file or app. To clean the cache memory we will do the following:
- Open the File Explorer and select the menu View More – Options.
- In the Privacy section of the window press on the Clear button.
Clean cache memory from Privacy and security
Windows 11 has a polemical feature that saves your computer activity. Here you will find cache memory as well, and cleaning it can make your computer work better.
- Open Settings – Privacy and security – Activity history.
- Press the Clear button in Clear activity history.
- Confirm the process.
Clear location cache memory
Windows 11 also saves cache memory from your location in cache memory. Each time you use the location features in an app, it saves cache memory to locate you faster. To clean this cache you do the following:
- Open Settings – Privacy and security – Location.
- Press the Clear button in Clear location history.
- Confirm the process.
Clear memory cache from C Unit
When you update the system, lots of files are saved in a special route. There you can find cache memory as well as useless files that you can erase to optimize the Windows 11 experience.
- Open the File Explorer and go to: C:\Windows\SoftwareDistribution.
- Right click on the Download folder and select Properties.
- Erase all the folder content.
Free memory cache in Windows 11 by erasing temporary files

The temporary files are one of the main reasons of cache memory saturation. The process of cleaning temporary files requires the following steps:
- Open the %temp% folder from the search box.
- Delete all the content in the folder.
- Clear cache with free space option
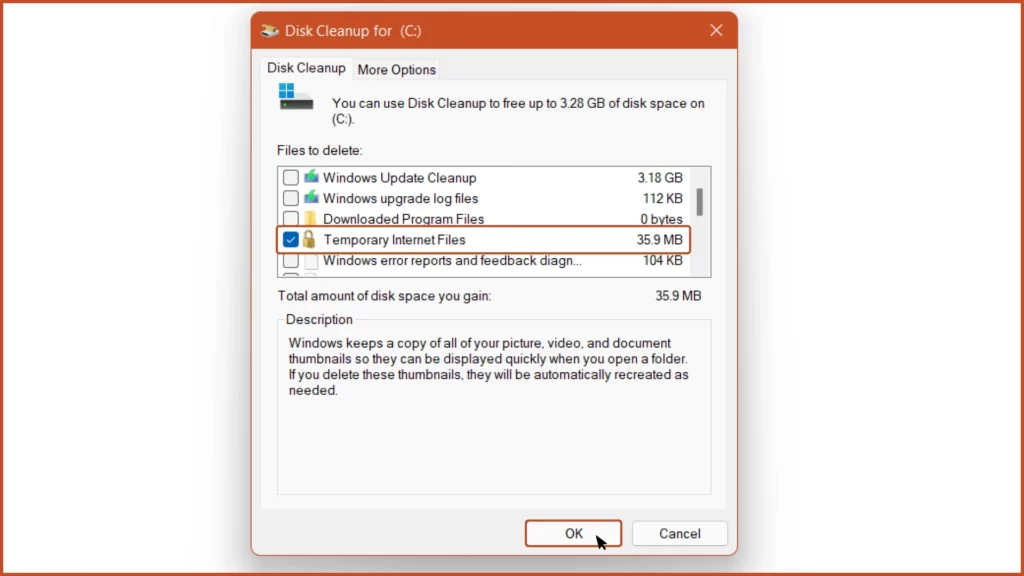
Windows 11 includes the free disk space option. It’s an app specially made to clean up cache memory as well as temporary files that accumulate on the disk. You only need to open the app from the search bar and select the sections of your disk you want to clean.
Clear cache memory in Windows 11 by reestablishing Windows App Store
The Windows App Store is the tool to download, install and update apps. It’s normal to find cache memory and other data related to it. You can clean it really easy.
- Execute the command wsreset from the search box.
Clear cache memory in Windows 11 with Storage Sense
The Storage Sense tool in Windows 11 helps you to organize the storage space smartly. It can automatically erase files and Libraries that you won’t need.
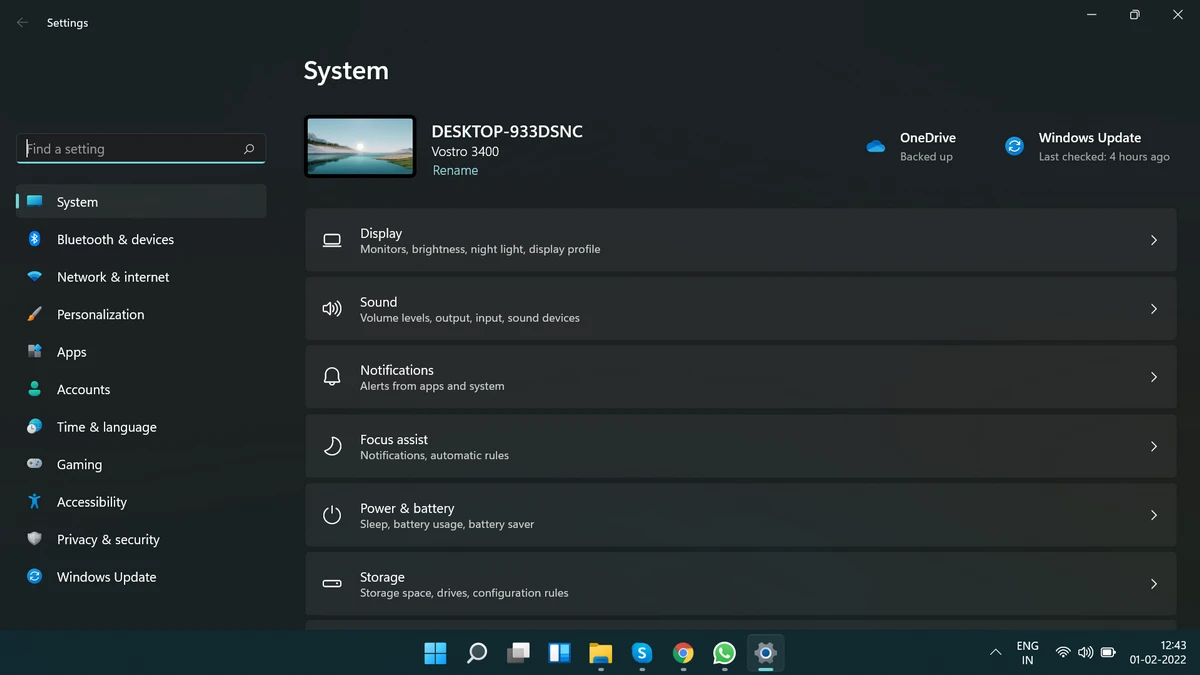
- Open Settings – System – Storage.
- Click on Storage Sense.
- Activate the switch Automatic User content cleanup.
- Select the parameters and start the cleaning process.
Clean cache memory from CMD
The last method is also one of the traditional ones. You need to open the CMD using Administrator permission. Then, introduce the command “ipconfig /flushdns” and wait for it to finish the cleaning.


Do you have any questions or problems related to the topic of the article? We want to help you.
Leave a comment with your problem or question. We read and respond to all comments, although sometimes it may take a while due to the volume we receive. Additionally, if your question inspires the writing of an article, we will notify you by email when we publish it.
*We moderate comments to avoid spam.
Thank you for enrich our community with your participation!