Nowadays the smartphone is an essential part of our lives as well as the e-mail account. You can use the mobile device to create and use all of your e-mail account tools and features wherever you are. In this tutorial we are revisiting the settings and creation of an e-mail account in Android and iPhone devices.
You must take into account the security of your device, the password and remote access as well as the steps to create a new account. The e-mail account in the smartphone is necessary to be able to run several apps and services.

Create an e-mail account in Android devices
You need an e-mail manager app to create your account in Android. There are several options, but Gmail is the default one and the simplest. Follow these steps to create your own Gmail account:
- Open Gmail app.
- Press the icon in the upper left corner.
- Press the Add account button.
- Select a service provider.
- Press Create account.
- Follow the instructions on screen and input your data.
- Create a password.
Once you have finished the process, you will be able to use the e-mail account to receive different messages. You can also use the e-mail to register for different services and apps. The Gmail app lets you set several accounts in the same device.
Create the e-mail in iPhone devices
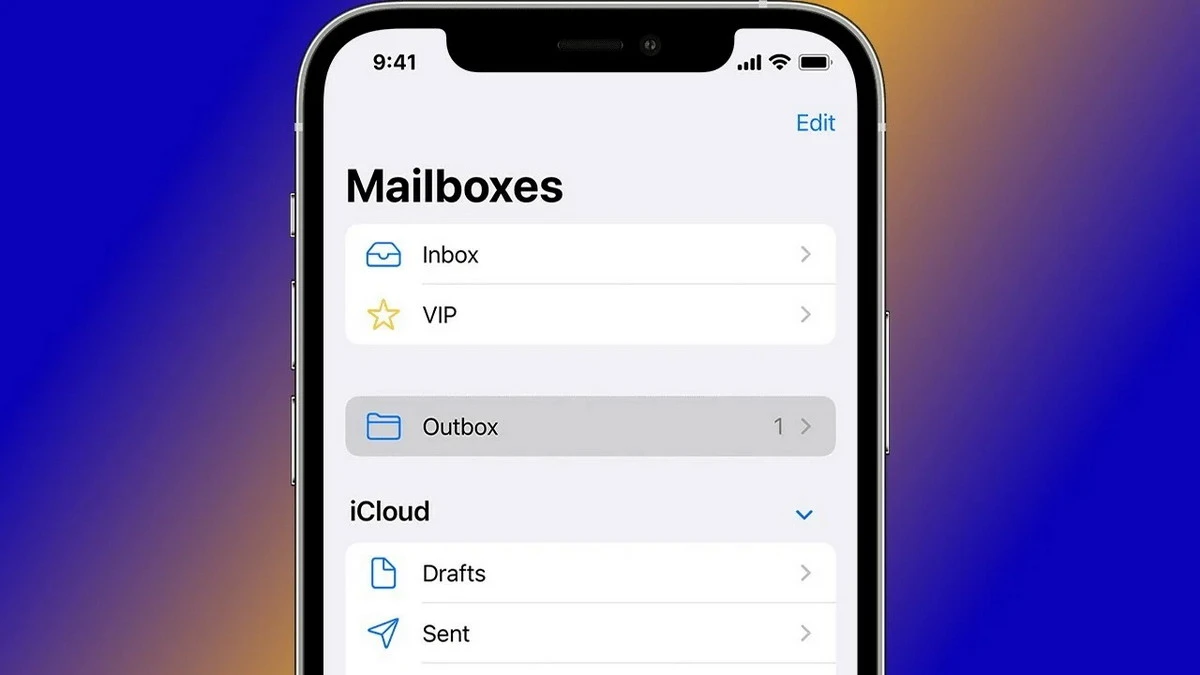
You can create a Gmail account with the app in iPhone, but apple also has its own tool for e-mail management. The tool is installed by default in iOS and you can open it by following these indications:
- Open the Settings app.
- Select Mail options.
- Open Accounts menu.
- Select Add accounts.
- Choose the e-mail provider and then Create account.
- Follow the instructions to create a new e-mail address.
The Mail app will start working with your account as the main one. You can also introduce other e-mails in order to manage all your messages from the same interface.
Apps to manage e-mail accounts
There are several apps to manage e-mail accounts in Android and iPhone. The most popular ones include Gmail, Outlook and Blue Mail. There’s also Edison Mail, and all of these can manage several accounts at the same time.
The configuration process is very similar, having to introduce each account and password to the app before using it. That way, you can have an inbox for each of the e-mails in the same app.
E-mail server types
Currently it’s not necessary to set the server type because the apps detect it automatically. However, in the past you had to select between IMAP, POP3 and SMTP servers. Each one of these have a different protocol regarding the send and receive process for mails. Nowadays, all the protocols are compatible and automatically detected by most of the e-mail management apps.

