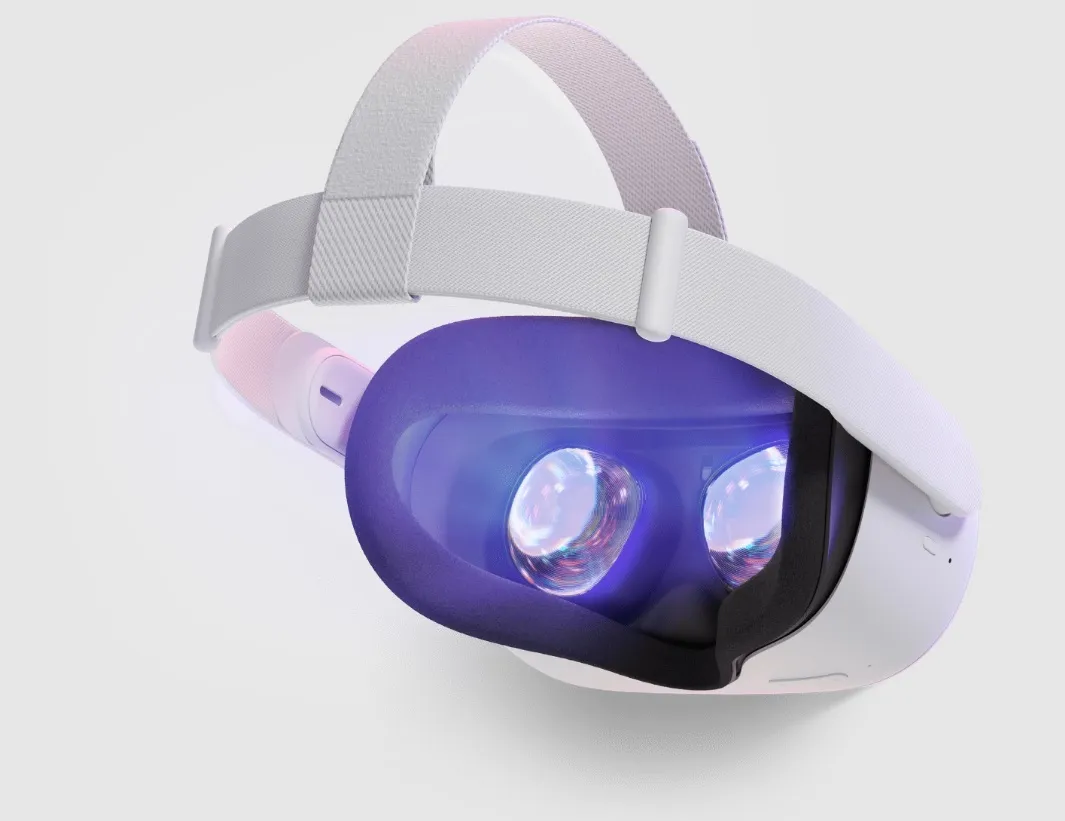
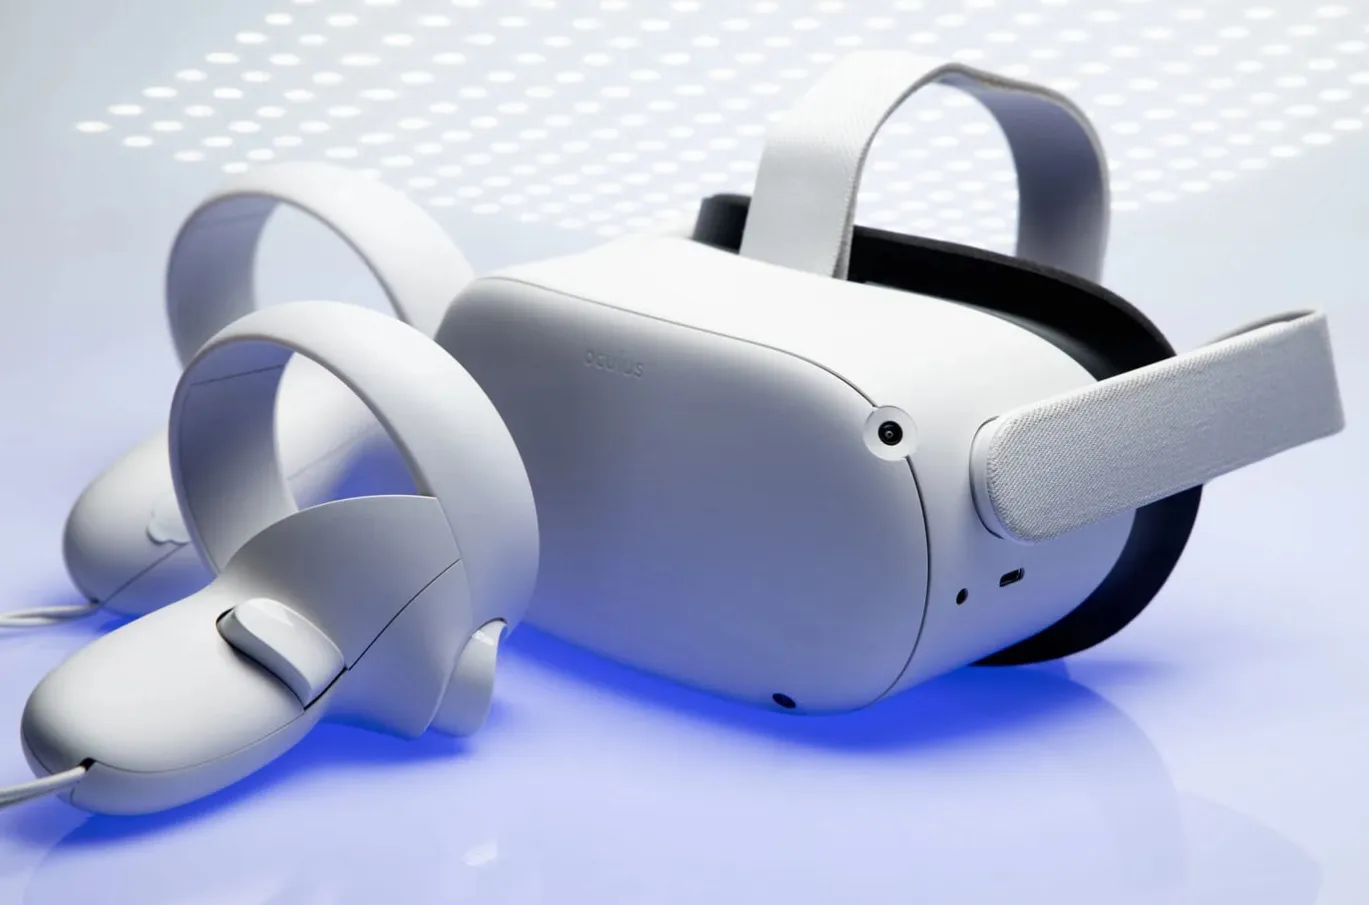
The Oculus Quest 2 are one of the best options to enjoy virtual reality autonomously. However, resetting your Oculus Quest 2 to factory settings can be useful in several situations, such as if you sell or give away your headset, if you want to resolve performance issues, or simply want to start over from scratch. By doing so, you are erasing all personal data and settings you have set on the glasses, which means any apps, games, user data, and media files you have saved will be permanently erased. Make sure you have saved any important information before beginning the reset process.
Oculus Quest 2 Backup
The first thing you should do before factory resetting the Oculus Quest 2 is to back up your important data. To do this, follow these steps:
- Go to Quick settings > Settings > Backup
- Toggle the Backup button to On.
- Connect the Quest 2 to your computer using the USB-C cable.
- On Quest 2, select Always allow in the USB connection authorization window.
- Open the File Explorer app on your computer.
- Find the Quest 2 in the Devices and drives section and open it.
- Copy the important files and paste it into a folder on your computer.
How to reset the Oculus Quest 2 to factory settings via mobile
If you prefer to use the Oculus mobile app to reset your Oculus Quest 2, follow these steps:
Open the Oculus mobile app on your phone and make sure you’re signed in to the same account you use on your Oculus Quest 2. If you don’t already have the app installed, you can download it from the App Store or Google Play Store.
- In the app menu, tap the “Devices” option at the bottom of the screen.
- Select your Oculus Quest 2 from the list of devices.
- Tap the “More Options” button at the bottom right of the screen and select “Device Settings.”
- Scroll down and tap the “Delete all content and settings” button.
- Confirm that you want to delete all content and settings by tapping the “Delete All” button.
- Wait for the reset process to complete. This may take several minutes.
Reset the Oculus Quest 2 through the headphones of the glasses.
If you prefer to reset your Oculus Quest 2 directly from the headset, follow these steps:
- Turn on your Oculus Quest 2 and wear it on your head.
- In the main menu of the glasses, go to the “Settings” option at the bottom right of the screen.
- Scroll down and select the “Device” option.
- Select the “See all” option.
- Select the “Delete all content and settings” option.
- Confirm that you want to delete all content and settings by tapping the “Delete All” button.
Another method with headphones:
Press and hold the Power button and the Volume down button at the same time for at least 10 seconds, until the recovery menu appears.
- Use the Volume buttons to scroll to the “Wipe data/factory reset” option and select this option using the Power button.
- Confirm that you want to erase all data and settings by selecting “Yes” on the confirmation screen.
- Wait for the Quest 2 to finish doing a factory reset. This may take a few minutes.
- When the process is complete, select the “Reboot system now” option to reboot the Quest 2.
Wait for the reset process to complete. This may take several minutes.

Set up the Oculus Quest 2 again
After resetting the Oculus Quest 2 to factory settings, you will have to configure the device from scratch. This includes relinking the headset to your Oculus account, connecting to Wi-Fi, and setting up the app library.
To link the Oculus Quest 2 to your Oculus account, follow these steps:
- Open the Oculus app on your phone.
- Select “Settings” at the bottom right of the screen.
- Select “Add a device.”
- Select “Oculus Quest 2” and follow the onscreen instructions to complete setup.
Once you’ve linked your headset to your Oculus account, you’ll need to connect to a Wi-Fi network. To do so, follow these steps:
- Turn on the Oculus Quest 2 and wait for the home screen to appear.
- Select “Settings” in the bottom right corner of the screen.
- Select “Wi-Fi” and then select the Wi-Fi network you want to connect to.
- Enter the Wi-Fi network password (if required) and then select “Connect.”
Finally, you will have to configure the application library. The App Library is where you’ll find all your Oculus apps and games.
To set up the app library, follow these steps:
- On the home screen, select “Library” in the lower right corner of the screen.
- Select “Explore” to search for apps and games.
- Select “Purchased” to see the apps and games you’ve purchased from the Oculus store.
- Select “Update All” to update all the apps and games in your library.
- And that’s it! You should now be ready to enjoy your Oculus Quest 2 like new.
If you need additional help with your Oculus Quest 2, you can always visit the Oculus support page for more information or contact support.
Conclusion
Resetting the Oculus Quest 2 to factory settings is a useful process to solve technical problems and errors on the device. Through the mobile or with the headphones of the glasses, you can do a complete system restore, deleting all the data and settings stored in the Quest 2.
It is important to note that this process will erase all game and personal data stored on the Quest 2, so it is recommended to back up any important files before performing the reset. If you follow the indicated steps correctly, you will be able to reset the Oculus Quest 2 to factory settings without problems.


Do you have any questions or problems related to the topic of the article? We want to help you.
Leave a comment with your problem or question. We read and respond to all comments, although sometimes it may take a while due to the volume we receive. Additionally, if your question inspires the writing of an article, we will notify you by email when we publish it.
*We moderate comments to avoid spam.
Thank you for enrich our community with your participation!