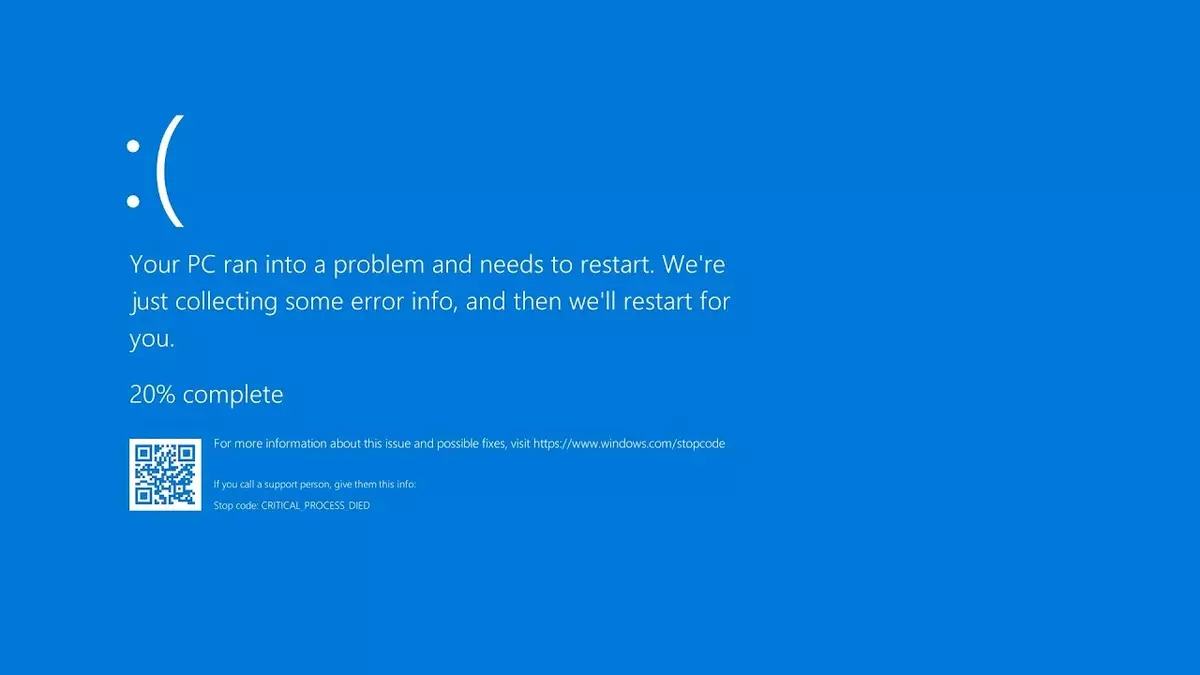
The file system is the essential component for any operating system. It can read and write tasks compatible with your system to perform them accordingly. It’s because of the file system that you can’t run a Windows app on Linux or macOS and vice versa. In Windows 11 you can run with the NTFS FILE SYSTEM ERROR and it’s important to know how to solve it.
The NTFS (New Technology File System) is the default system in Windows and it includes several features to work faster. In this guide we explore the features and how to avoid the NTFS FILE SYSTEM ERROR in your Windows 11 sessions.

The features of Windows 11 file system and how to avoid NTFS FILE SYSTEM ERROR
The NTFS saves a transaction logging, allowing the file system to remain consistent in case of errors or unavailability. It can also manage permissions and access rights at the folder and file level, grating different access points to one or more users. This feature is especially useful in privacy and file integrity cases. Other features you can find in the NTFS include:
- NTFS supports file compression to save storage space on your hard disk.
- The file system has a file size limit of 16 exabytes and partition size limit of 256 terabytes.
- The indexing system makes search tasks faster and more efficient.
- You can use long file names up to 255 characters, including spaces and special characters.
Even with all these features, sometimes the NTFS FILE SYSTEM ERROR appears. It’s fundamentally an error with the file system and there are many reasons for it to occur. For example:
- Damaged hard disk sectors
- System failures
- Corrupt files
- Software conflicts
If your Windows 11 operating system is showing you the NTFS FILE SYSTEM ERROR don’t worry. You can try some of these solutions in order to repair the NTFS and restart your PC activities.
Enter Safe Mode in Windows 11 to avoid NTFS FILE SYSTEM ERROR
You can access Safe Mode in Windows to start the system with the minimal set of drivers. This action helps to detect which files are creating the NTFS FILE SYSTEM ERROR. The environment is clear of files that may be generating the issue. In order to start the Safe Mode follow these indications:
- Open the Start Menu and go to Settings – System.
- Press on Recovery.
- Click on the Restart now button.
- Click on the button to confirm restarting Windows 11 in Advanced Mode.
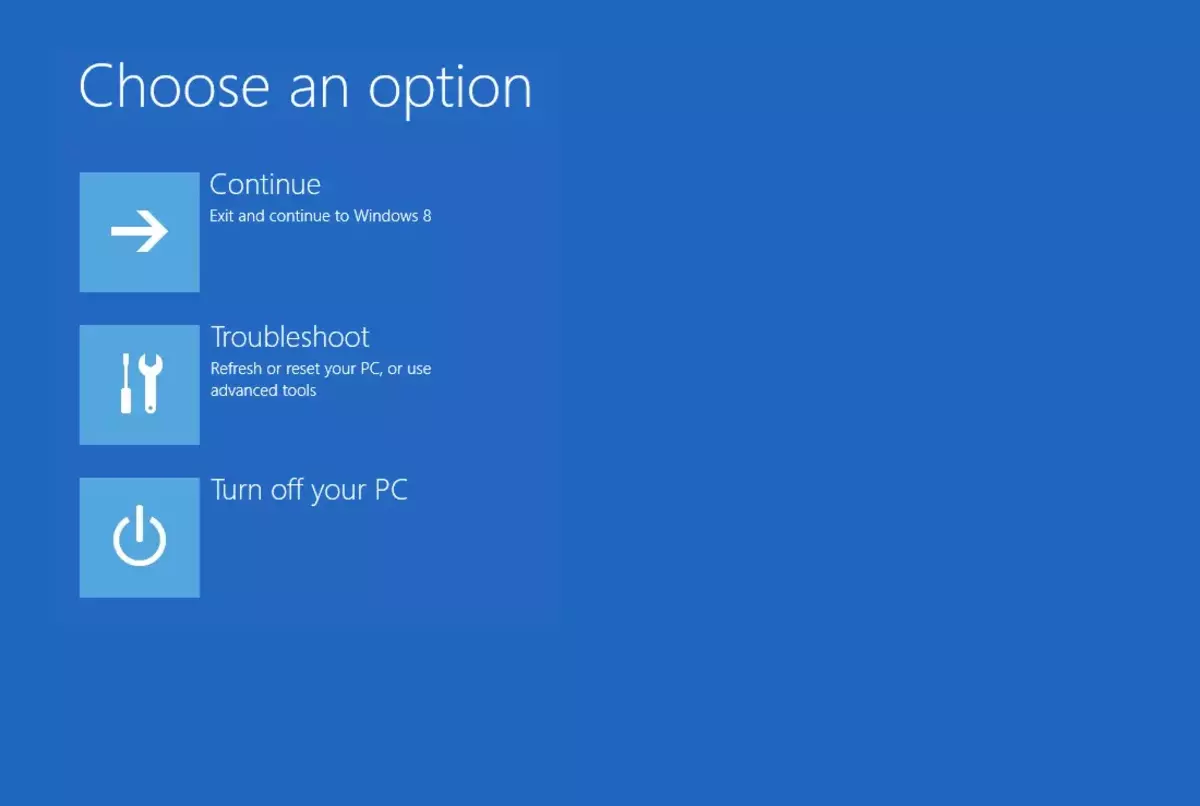
- Click on Troubleshoot in the new windows.
- Select Advanced options.
- Select Startup Settings and click on Restart.
- Press F4 or F5 key to enter Safe Mode or Safe Mode with Networking respectively.
- Log in to Safe Mode and check if everything works correctly.
- If there’s no issue, restart the operating system and Windows 11 should open normally.
Configuring Event Viewer in Windows 11
Using the Event Viewer you can gain a clear understanding of the time when the error occurred. You can detect which session was active and generated the code. Through this you can perform administrative tasks more efficiently and pointing directly to where the error is and correct it.
- Open the Start menu and search Event Viewer.
- Click on Event Viewer to lauch the app.
- Navigate to Windows Logs – System
- Once the events are loaded, sort them to detect those with error marks. Check them to see if they are related to NTFS FILE SYSTEM ERROR.
- The events related to NTFS will display all the details of each error, providing a better understanding of the origins and steps to fix each error.
Use Windows 11 Memory Diagnostics
One of the main causes of NTFS errors is related to RAM memory issues. They process a significant percentage of user activities, system operations and components. In order to detect and correct errors in RAM, Windows also includes a specialized utility. You can run it following these steps:
- Type “diagnose” in the search bar and open Windows Memory Diagnostics app.
- Click on Restart now and check for problems.
- Windows 11 will restart and initiate the memory analysis.
- During the memory analysis press F1 to access options such as type of analysis or number of repetitions.
- Wait for the memory analysis to complete.
- Wait until all steps of the analysis finish.
- The system will then restart normally if everything is ok.
Free up space in Windows 11
Another common cause for the NTFS FILE SYSTEM ERROR is a full hard drive. When your storage device is full, the NTFS reading task tend to fail. You can free up some space on the hard drive by doing the following:
- Type “disk” in the search bar and open the Disk Cleanup app.
- In the new window select C: drive.
- Wait for the loading to end.
- Click on “Clean up system files”.
- Select the C: drive again.
- Select with the checkboxes the items you want to erase and confirm with OK.
- Click on “Delete Files” and wait for the process to end.
Validating Drivers in Windows 11
When the NTFS FILE SYSTEM ERROR appears you may check the drivers of Windows 11 to search for a solution. Sometimes an incorrect update or outdated files may cause different problems. You can easily check Windows 11 driver status using the Driver Verifier Manager. It is a tool for managing and configuring the Driver Verifier. It is a feature of Windows you can use to detect and resolve issues associated with different device drivers.
The Driver Verifier Manager includes the following options:
- Create custom settings: to create configuration profiles for specific drivers or enable multiple types of checks.
- Verify new drivers: in order to verify recently installed drivers to ensure compatibility standards.
- Verify existing drivers: used to verify if the current drivers are working correctly or the existence of any errors.
- Verify digital signatures: a checking process for digital signature of the drivers and ensure they are authentic and non-modified.
You can generate reports with driver status in order to search for errors and other compatibility issues. Follow these steps to open the app:
- Type “verifier.exe” on the Start menu search and click on Driver Verifier Manager.
- Accept the system permissions.
- Select “Create standard settings” option.
- Click on the checkbox “Automatically select all drivers installed on this computer”.
- Click on “Finish” and close the wizard for Windows 11 to restart with the applied changes.
Reset Windows 11 to fix NTFS FILE SYSTEM ERROR
A sort of extreme method but useful if the error is caused by a bug hidden deep in the system. Resetting the computer to its original state may recover the proper NTFS functions. It’s a very easy to follow process:
- Go to Start – Settings – System – Recovery.
- Click on Reset this PC and choose to keep or remove your personal files.
- Select the type of installation to use (cloud-based or local).
- Click on Next and then Reset.
Use the CMD to analyze the hard drive
If your hard disk is causing problems you can use the CMD to look for errors. The built-In commands are easy to use and very fast.
- Open the command prompt (CMD) as Administrator.
- Execute the following command:
- Bash chkdsk /f c:
- Restart Windows and the system will initiate the system’s diagnostic test.
- Once the process finish you may see Windows 11 restarting several times.
Repair Windows 11 Startup
The built-in Startup Repair function is also useful to fix the NTFS SYSTEM FILE ERROR. It can analyze each process that influences the startup of Windows and highlight faults. Using it is very easy:
- On the Start menu click on the Windows power button.
- Press and hold shift key and click on Restart.
- The Windows will restart into Advanced Mode.
- Click on the Troubleshoot version.
- Select Advanced options.
- Choose Startup repair.
- Windows 11 will analyze the startup process and detect and fix errors.
- Press on Continue to restart Windows 11 normally.
Reset Windows 11 Boot
The last method to try and fix the NTFS FILE SYSTEM ERROR is to reset the operating system boot. This can be done through the Advanced Mode we have been using in some of the previous methods.
- Click on Troubleshoot and select Advanced options.
- Select the Command Prompt option.
- In the CMD execute the following command to reset the Master Boot Record (MBR):
- Bash bootrec /fixmbr
- Bash bootrec /fixboot
- Bash bootrec /scanos
- Type the exit command and click on the Continue button to restart Windows.
If none of the above methods works, you should try reinstalling Windows 11 manually. Visit the Microsoft official URL and download the Media Creation Tool. Run the app and accept the license agreement to begin installing a new Windows version.
The default option is your own PC’s configuration but you can uncheck the “Use recommended options for this PC” box and select a new version and language. Follow the steps, download the ISO or create a bootable USB and install Windows 11 again from scratch.


Do you have any questions or problems related to the topic of the article? We want to help you.
Leave a comment with your problem or question. We read and respond to all comments, although sometimes it may take a while due to the volume we receive. Additionally, if your question inspires the writing of an article, we will notify you by email when we publish it.
*We moderate comments to avoid spam.
Thank you for enrich our community with your participation!