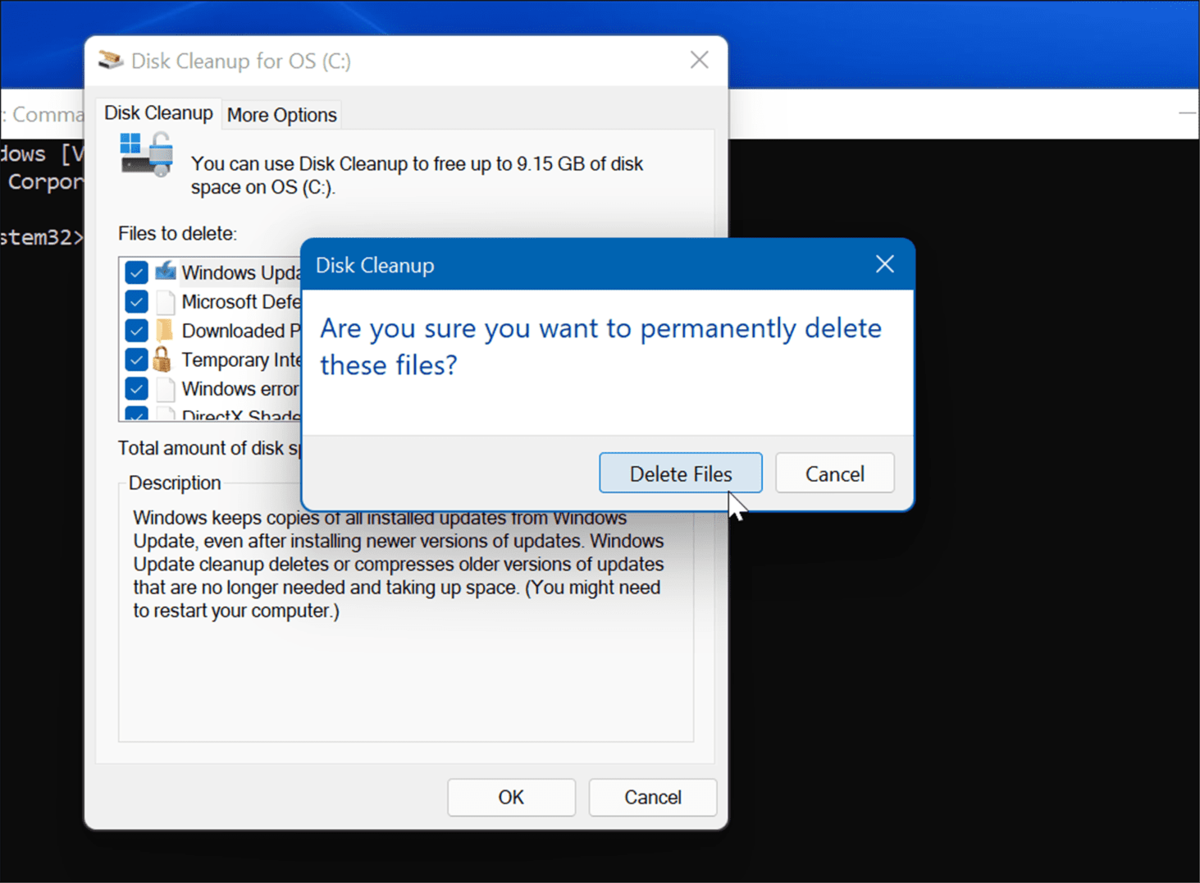
Windows 11 and Windows 10 let us do thousands of actions to manage files and folders. You can also edit them, change their name or erase them. But sometimes the system doesn’t let you erase files and folders from your computer.
The most used ways to erase files and folder on Windows include the Del key, the right-click menu Eliminate option or the Eliminate icon on the file manager app. Most of the times the deleting goes well, but there are some times when a message appears indicating that the file can’t be erased. In this tutorial you will learn different ways to force deleting on a Windows system.

Erase files or folders on Windows
The first method is the most used ones. First you need to check the route where the file or folder is allocated.
- Right click on Home and select WindowsPowerShell(Administrator).
- Press yes on the UAC message to gain access.
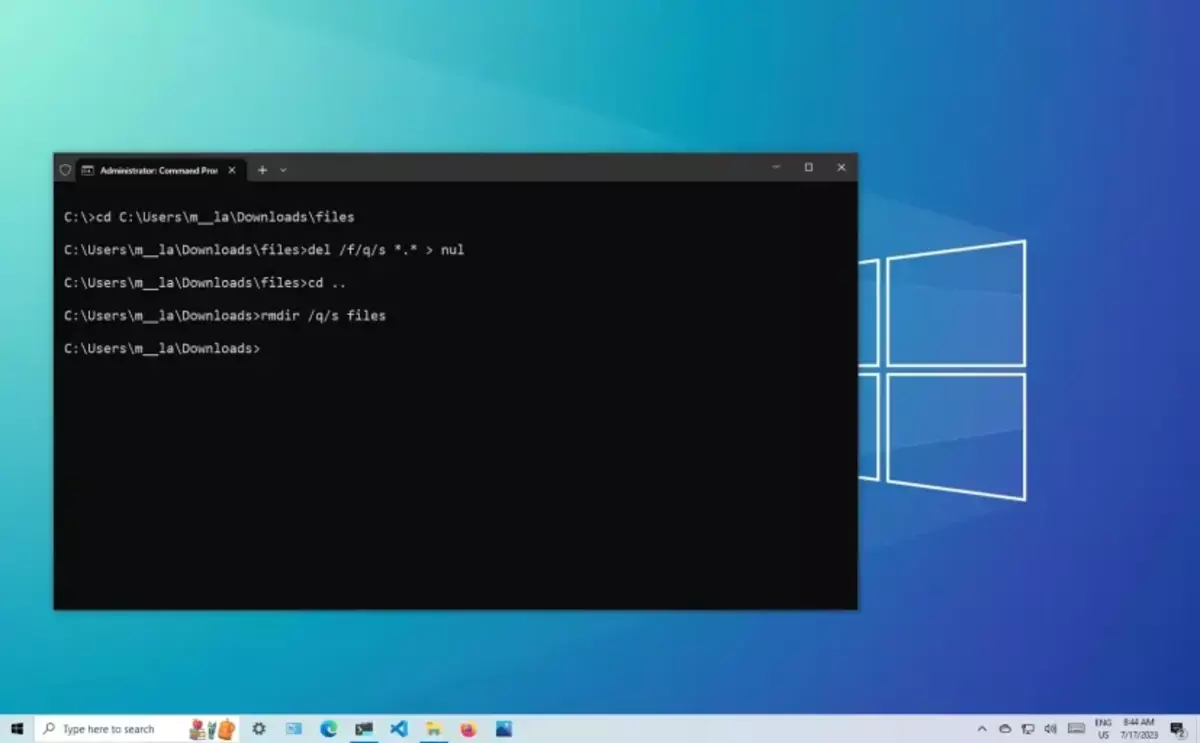
- From the File Manager select the file, click on More information and select Copy access route. Execute the following order in the console: del /f /q /a “file route”
- This command lets you erase one or more files or folders following the criteria of your choice.
- /f forces the erasing of only read files.
- /q activates quiet mode and the erasing confirmation disappears.
- /a lets you eliminate files with specific attributes such as r (only read), h (hidden files), I (not indexed files), s (system files), I (analysis points).
- Check that the file has been correctly erased.
Erase folders on Windows
Another option is to erase folders on Windows directly. When you know the folder route follow these steps:
- Right click on Home and select WindowsPowerShell(Administrator).
- Accept the system permissions.
- Select the folder and click on More information.
- Press Copy access route. Execute the following order: rmdir /s /q “Folder route”
- The rmdir command lets you erase a Windows folder through different parameters:
- /s lets you erase a directory tree including all the files.
- /q uses the quiet mode to erase without asking.
- Check out that the folder is erased correctly.
Erase zip files on Windows 11
In case you need to erase a zipped files or folders in Windows, there’s also a method to do this. Do the following:
- Find the route of the files or folders you want to eliminate.
- Right click on Home and select WindowsPowerShell (Administrator).
- Accept the permissions.
- Press on More information on the File Manager and select Copy access route. From the Command Prompt execute the following command: Remove-Item -Path (zip file route) -force
- Press Enter and confirm the zipped file has been eliminated from your computer.


Do you have any questions or problems related to the topic of the article? We want to help you.
Leave a comment with your problem or question. We read and respond to all comments, although sometimes it may take a while due to the volume we receive. Additionally, if your question inspires the writing of an article, we will notify you by email when we publish it.
*We moderate comments to avoid spam.
Thank you for enrich our community with your participation!