Adobe Photoshop is one of the best apps to edit and create photo content. Thanks to the latest Artificial Intelligence updates you can also generate new photos, replace objects or eliminate them from an image with just a few orders. If you need to change the background of your photos there’s also a fast tool in Photoshop.
You can easily edit different aspects of your photos with the Adobe software. In case you want to swap the background of your photos or create a new context, you can follow the steps in this article. The process is very simple and after a few minutes you are ready to show your new creation.
Replace the background of your photos with Photoshop
Photoshop works through layers. You can overlap different layers to modify the final aspect of your photos. If you want to save the project for future modifications you should save it in .PDF format to keep modifying the original one. When you save the image in .JPG the layers unify and you must start all over again. In case you already know the basics for Photoshop, you can start editing.
- Open the file you want to edit and go to the Layers section.
- Click twice on the padlock to eliminate it and start working with the background.
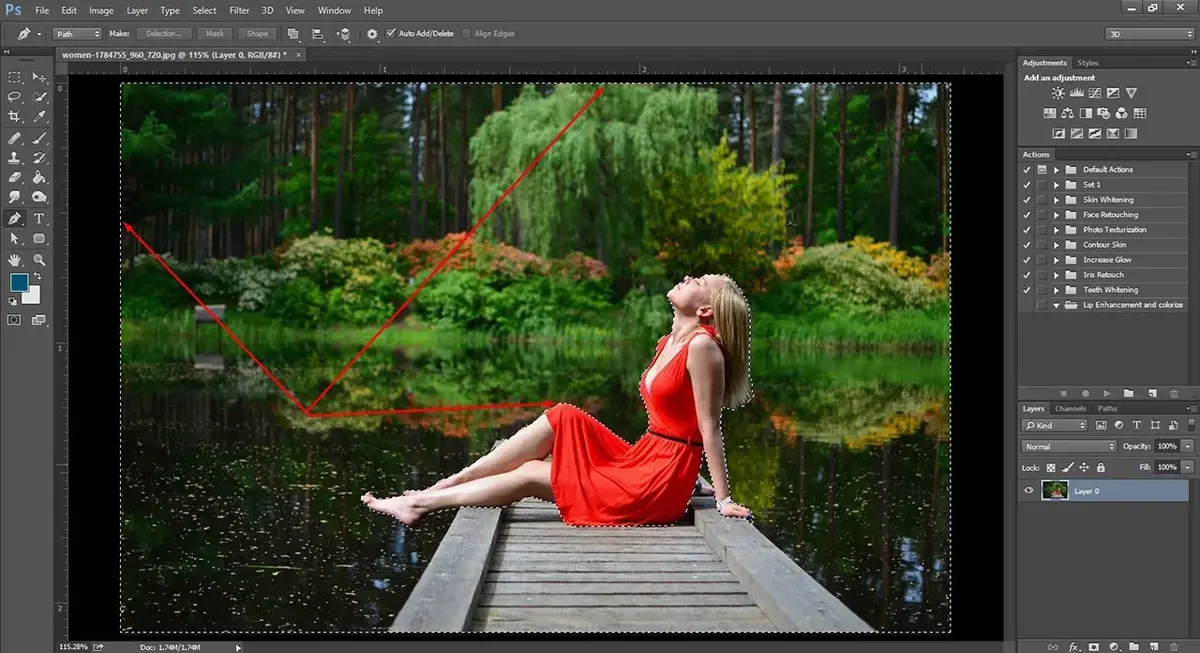
- On the tool bar from the right side click on the third icon to activate the selection tool or the W button for a keyboard shortcut.
- Hold left click and from the drop-down menu select the option Object Selection tool.
- Move the cursor to the object you want to keep and press the left button of the mouse. With the object selected go to Selection and press the Invert option. The background will become the selected button and you can eliminate it with Ctrl + X. Then you will have the object with no background at all.
- If you want to preserve the background press Ctrl + V and paste it on a new layer you can hide with the Eye icon next to the Layers section.
The last step
You already have the no background image, now it’s time to drag the new background you want to use. It’s important that the new background has the same or more resolution than the original image to avoid pixeling issues. The new background has to be located above the layer you are working with. You must drag it to the lower part. Select the layer and drag it down.
Once you have done this, the process of replacing a background is finished. In just a few minutes you can have your own edited photo with a new and customized background. Make sure you save the project before turning it into a .JGP file to share.
Do you have any questions or problems related to the topic of the article? We want to help you.
Leave a comment with your problem or question. We read and respond to all comments, although sometimes it may take a while due to the volume we receive. Additionally, if your question inspires the writing of an article, we will notify you by email when we publish it.
*We moderate comments to avoid spam.
Thank you for enrich our community with your participation!