RSAT is one of the new features you can install and make use of in Windows 11 operating system. It’s a tool for business environment and it helps you to get a more efficient and secure control over your system.
Windows 11 includes several features to satisfy all kinds of users need. Some of these are hidden features like RSAT in Windows 11. RSAT stands for Remote Server Administration Tools. It’s a collection of utilities for those who work on information technologies as well as computer security.

What is RSAT in Windows 11
The RSAT feature includes a set of tools for server administrators to manage Windows servers remotely. That way, you can set different features at distance without being present physically.
The powerful RSAT feature is present in Windows 11 Pro, Enterprise and Education versions. You can manage user accounts, set security policies and manage storage from your own computer at home.
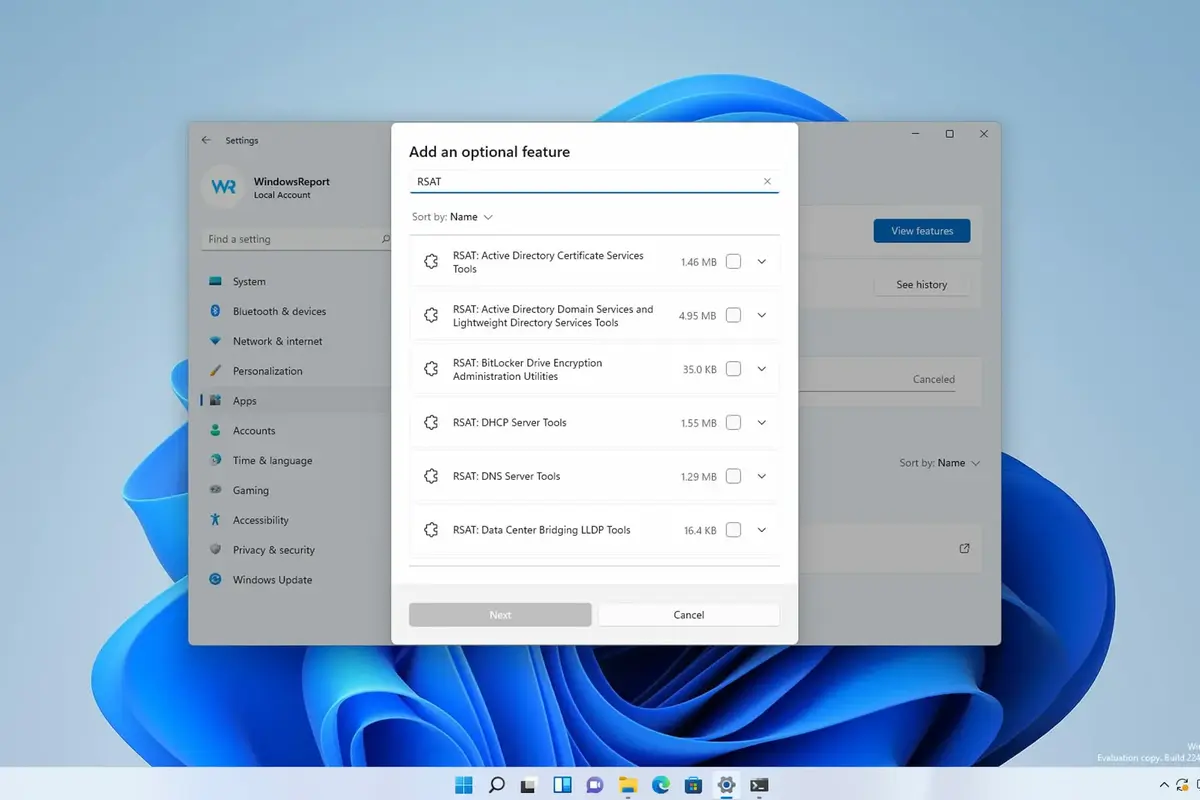
RSAT is integrated to Windows 11 as a group of optional features you can enable or disable according to your own needs. Once you install RSAT tools, you can run them from your PC and connect to remote servers across the network. Thanks to Windows 11 RSAT you can manage servers remotely as if you were in front of them.
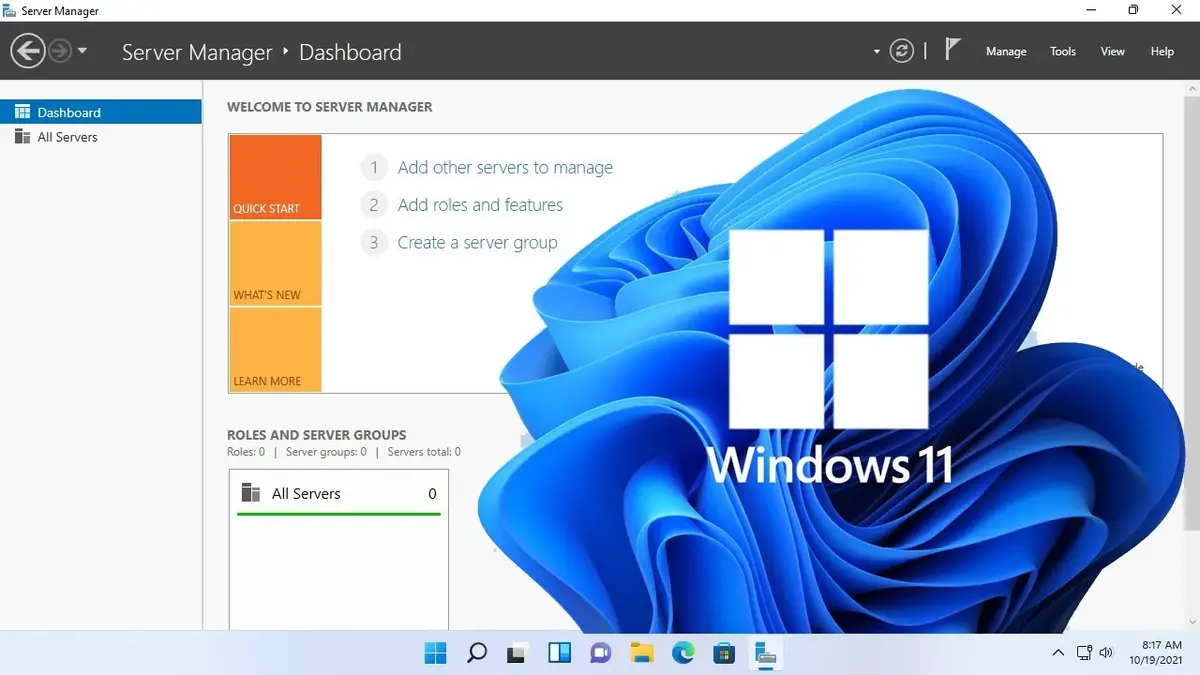
It’s important to notice that RSAT tools are especially useful for business environment where management is centralized. The possibility of remote control for multiple servers through Windows Server is necessary to keep security and efficiency operative.
How to install a RSAT in Windows 11?
There are 2 main ways to install a RSAT in Windows 11. You can use the Settings menu or the PowerShell app. The results are similar but you have to follow certain orders.
Install RSAT from Settings
- Open the Home menu and select Settings, you can also press Windws + I on the keyboard.
- On the left menu select System and go to Optional settings.
- Press the blue button See settings on the upper right corner and Add a new optional setting.
- Write RSAT in the search box.
- Select the tools you want to install.
- Now, press Next and Accept.
- Windows 11 will download and install the selected tools and you will be able to use them. In case you want to eliminate a RSAT from your system, the process is similar.
- Go to Settings and System.
- Open the Optional settings and go to the Added features section.
- Identify the RSAT you want to uninstall and press the Remove button.
Install RSAT on Windows 11 with PowerShell
The other method to install a RSAT involves using the PowerShell app. You can do it from the Home menu on Windows 11.
- Open the Home menu and look for PowerShell app.
- Right click on the app and select Run as Administrator.
- Write the following command and press Enter to see the available RSAT tools:
- Get-WindowsCapability -Name RSAT* -Online | Select-Object -Property DisplayName, Name, State.
- Install the following tools replacing RSAT-TOOL-NAME with the name of the tool you require:
- Get-WindowsCapability -Name ‘RSAT-TOOL-NAME’ -Online | Add-WindowsCapability -Online.
RSAT is indispensable for network administrators who need to manage servers remotely for a company. The installation of RST tools is restricted to specific Windows 11 versions but the features allow efficient and secure system management. You can save time and resources at work.
Through Settings or PowerShell you can install ad uninstall the tools according to the needs of each company. Make sure you can manage your TI infrastructure at the best of your capabilities.


Do you have any questions or problems related to the topic of the article? We want to help you.
Leave a comment with your problem or question. We read and respond to all comments, although sometimes it may take a while due to the volume we receive. Additionally, if your question inspires the writing of an article, we will notify you by email when we publish it.
*We moderate comments to avoid spam.
Thank you for enrich our community with your participation!